
My bad, but I'm 70 now and can't be expected to remember everything...

Ahh! The fundamental is gone but the second and third remain...

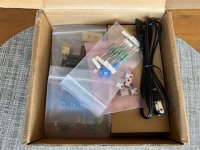
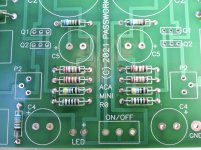
Some assembly required!
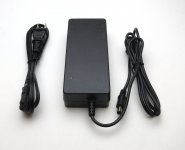
Woah, they even threw in the switching supply. That's a pretty great prize!!
I am hoping that 6L6 will provide us with one of his usual exemplary build
guides,
Received mine today, will work on it with pep, vim, and verve as I have a very full schedule for about 2 weeks starting this Sunday...
Received mine today, will work on it with pep, vim, and verve as I have a very full schedule for about 2 weeks starting this Sunday...
Thanks 6L6!

Photos 1
Attachments


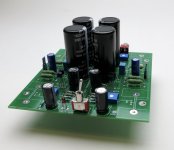


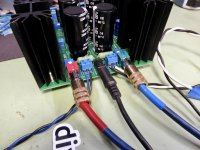
It really is easy, this is a remarkably simple project, lots of people are going to LOVE it, as initial testing has it working very well and sounding fantastic. 
The biggest advice I can give at this point is -
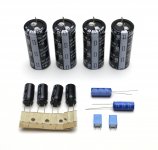
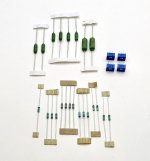
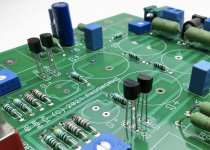
1) Because of the large disparity in sizes of all the various components, combined with the largest things being at the outside and the center, the old adage of "stuff components from smallest to largest" is THE most important thing to remember and abide by.
2) Heatsinks/Mosfet installation has an order of operations... A) attach mosfet to heatsink but leave it a little loose. B) insert assembly into PCB and solder only the heatsink. C) Final adjust and tighten the screw holding the mosfet. D) Solder mosfet.
That's about it. As far as I can tell, this project consists of stuffing the PCB, setting the bias and enjoying the music.
So very cool.

The biggest advice I can give at this point is -
1) Because of the large disparity in sizes of all the various components, combined with the largest things being at the outside and the center, the old adage of "stuff components from smallest to largest" is THE most important thing to remember and abide by.
2) Heatsinks/Mosfet installation has an order of operations... A) attach mosfet to heatsink but leave it a little loose. B) insert assembly into PCB and solder only the heatsink. C) Final adjust and tighten the screw holding the mosfet. D) Solder mosfet.
That's about it. As far as I can tell, this project consists of stuffing the PCB, setting the bias and enjoying the music.
So very cool.
Attachments

Last edited:
Can't wait!!!
In just 2 days! Amazing. Can't wait for availability on diy store.
Just ordered my 2nd ACA kit to run bridged--my preamp already had balanced outputs, as luck has it.
Hmmm... Floating amp... Reminds me of a bad dream... Will something come out of my chest?
--Christian
In just 2 days! Amazing. Can't wait for availability on diy store.
Just ordered my 2nd ACA kit to run bridged--my preamp already had balanced outputs, as luck has it.
Hmmm... Floating amp... Reminds me of a bad dream... Will something come out of my chest?
--Christian
Attachments


Last edited:
- Home
- Amplifiers
- Pass Labs
- DIY ACA mini