Hi Gary,
This is why I am making a verification build, to get the detailed BOM straightened out, in addition to confirming that the layout works. So far the PSU has been verified to be working on one channel using an external 15v trafo. We will get the complete BOM soon. However no plans on complete kits. They are simply too time consuming to do. It’s hard enough Just to provide the “shopping cart” ready to go.
This is why I am making a verification build, to get the detailed BOM straightened out, in addition to confirming that the layout works. So far the PSU has been verified to be working on one channel using an external 15v trafo. We will get the complete BOM soon. However no plans on complete kits. They are simply too time consuming to do. It’s hard enough Just to provide the “shopping cart” ready to go.
Attachments

That is fine by me X, as long as there is a complete BOM of all mechanical parts and electronic parts for members to put together this masterpiece of a design, then there should not be too many questions as forum members look to source parts and complete the build.
Hi Gary,
This is DIY after all, and the BOM and shopping cart will contain all the major parts to get the amp working. It may not be comprehensively complete like a Heathkit or DIYA Store Kit for beginners, but the major stuff will be there. However, rest assured that all questions on this thread will get answered. Hugh, JP, and myself will try our best to help you get a working amp that sounds like no other. The mechanical case-work is always a DIY PITA. I have 3 dozen amps and only 3 are encased, and only 1 nicely done. So that sort of tells you where my level of detail is when it comes to the last nut and bolt being specified in a BOM. This custom case business and shaft extenders are all new to me. I’m sure JP has a part number for the shaft extender. The generation of a shopping cart on Mouser and Digikey etc is a major undertaking. Probably 6-8hrs of work on Vunce’s part. It may not be 100% complete. You will have to use it as a starting point and compare to the schematic. The parts for the case we will figure out when we get there.
This is DIY after all, and the BOM and shopping cart will contain all the major parts to get the amp working. It may not be comprehensively complete like a Heathkit or DIYA Store Kit for beginners, but the major stuff will be there. However, rest assured that all questions on this thread will get answered. Hugh, JP, and myself will try our best to help you get a working amp that sounds like no other. The mechanical case-work is always a DIY PITA. I have 3 dozen amps and only 3 are encased, and only 1 nicely done. So that sort of tells you where my level of detail is when it comes to the last nut and bolt being specified in a BOM. This custom case business and shaft extenders are all new to me. I’m sure JP has a part number for the shaft extender. The generation of a shopping cart on Mouser and Digikey etc is a major undertaking. Probably 6-8hrs of work on Vunce’s part. It may not be 100% complete. You will have to use it as a starting point and compare to the schematic. The parts for the case we will figure out when we get there.
Last edited:
Thanks X, all will be revealed I am sure as work progresses by yourself and JPS on this fine project.
please be patient, mechanical part list coming; never seen DIY document quality and design level!
We‘re designing today front plate for milling and rear plate for printing.
JP
We‘re designing today front plate for milling and rear plate for printing.
JP
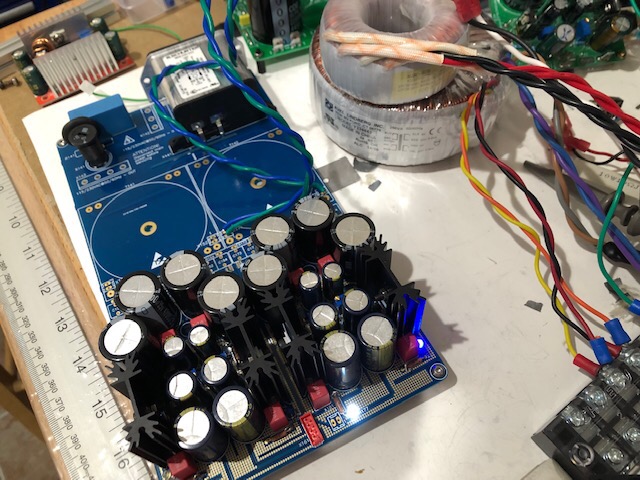
PSU tested with Talema 25VA 22v Talema’s. Excellent low noise performance. Using 600 ohm dummy load for 93 mA current at +/-28v rails. Noise is less than 400uV rms as observed on oscope.
Attachments


Last edited:
Yes, if you want it to be able to drive a 0dB gain output stage to 50w into a 6.8ohm load (that’s what I am going to use it for). But for most people, an 18v transformer will work just fine for +/-24v rails It’s nice to know that you have the headroom for a Preamp that can swing 53vpp.
Yarra PCB Successfully Verified
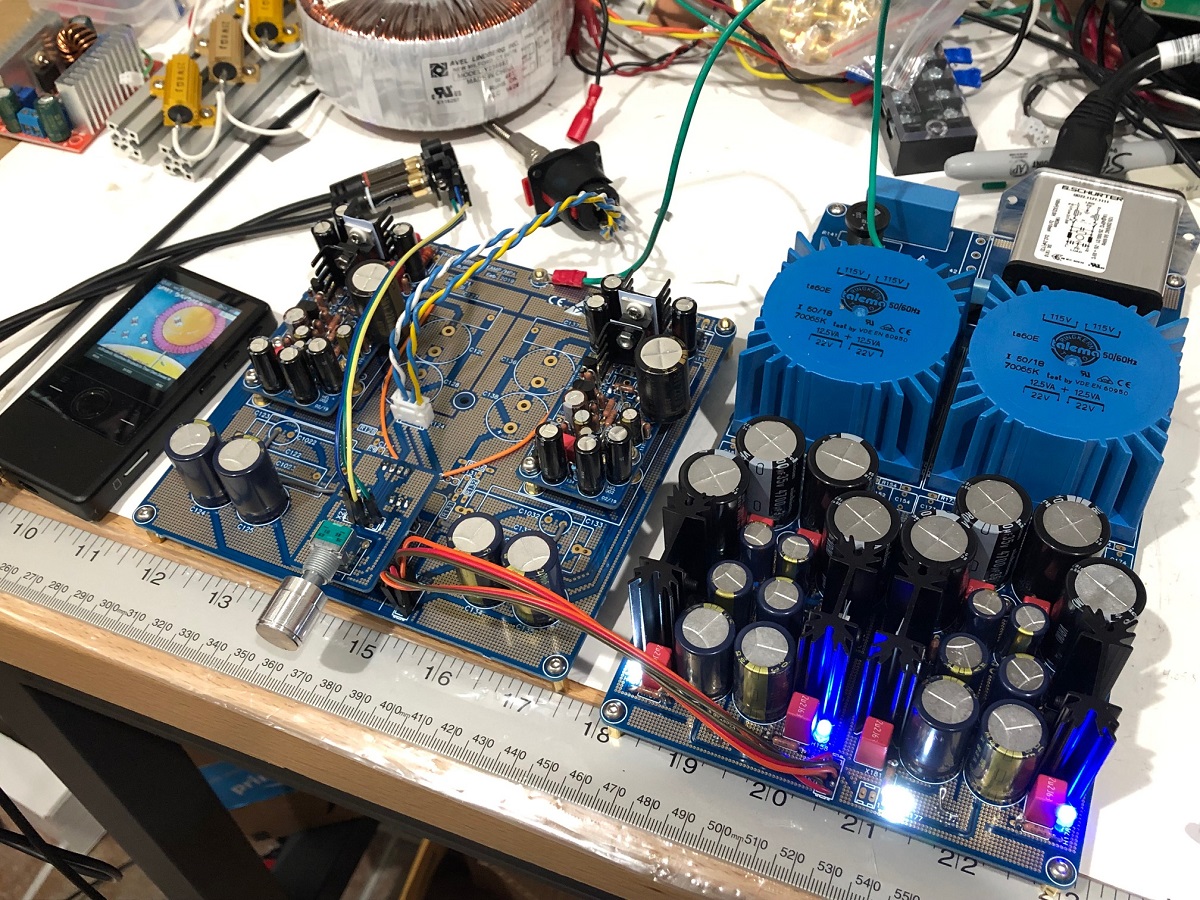
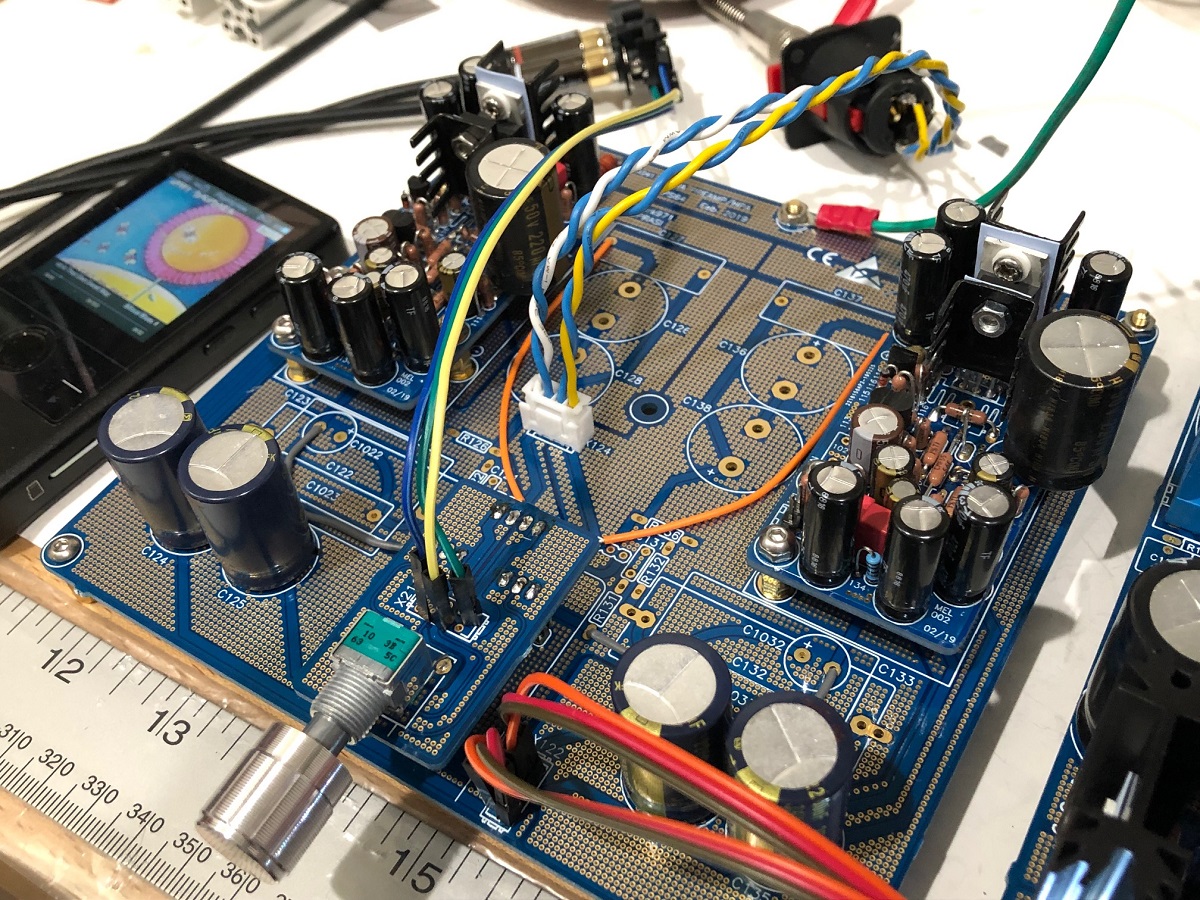
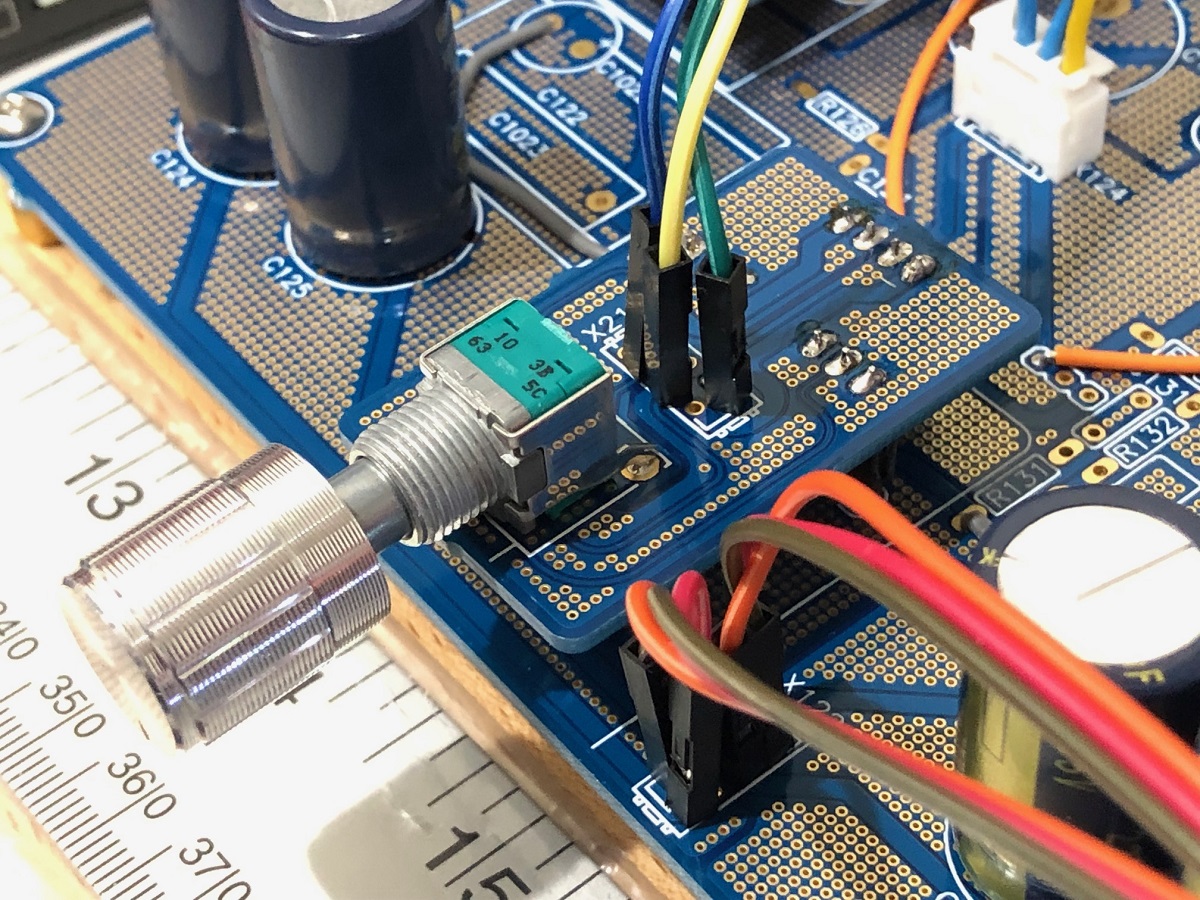
I hooked up a bare bones Yarra motherboard to the PSU with flying leads to test things out. Since my Melbourne is running as a complete stand-alone core, no coupling caps or filters are needed on Yarra and hence jumpers are used. PSU is running +/-29Vdc rails and bias current is 42mA. Wit the current 22V Talema at 42mA, the minimum voltage is about 28.5v. I am running as a headphone amp and listening to the Yarra with OB-1 55ohm impedance phones. Even with only a 220uF output coupling cap, the bass is very good. I am surprised how powerful it sounds for having only 42mA of bias current. The 55Vpp output capability is interesting.
The sound is wonderful - typical Aksa Lender: engaging, clear, natural, with super stereo separation and imaging.
The board is a pleasure to work on - JPS64 did a superb job, as usual.
In looking at how JPS64 laid out the optional HPA or Line-Out selection using an on-board PCB header pin jumper, it seems that one could configure the Yarra to have a SPDT switch at the 3-pin header and then wire a jumper to allow DC-coupling by bypassing the output caps. That would be a nice feature to be able to switch back and forth between AC and DC coupled.
Attachments


Last edited:
All very encouraging X, keep up the good work.
Looking forward to getting my hands on one of these for the ultimate preamp build.
Looking forward to getting my hands on one of these for the ultimate preamp build.
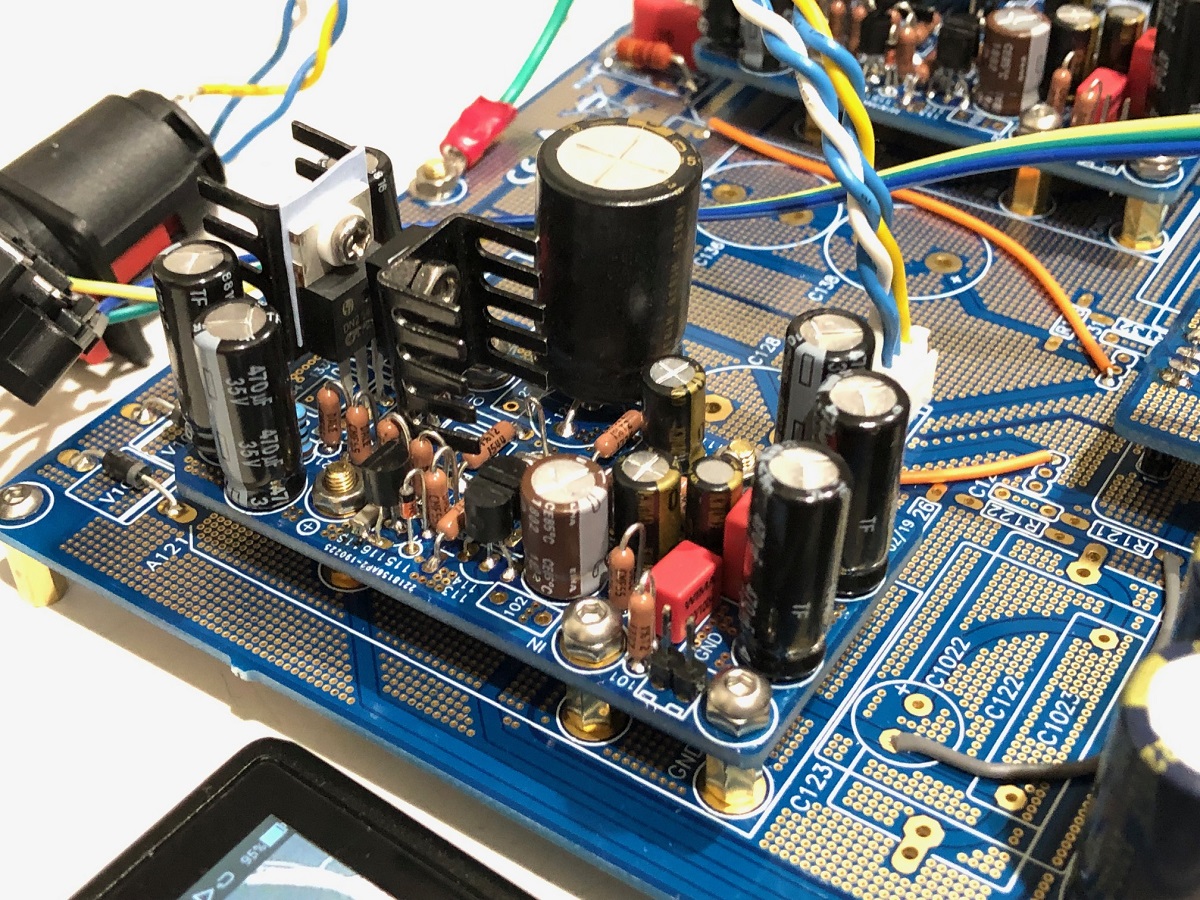
Tested Yarra with MOAMOFO and great news is that with music off it is silent. No hum, hiss or any noise with ear pressed to speaker. The verification that there are no unbecoming groundnliops always has me worried but this Preamp is solid in the noise department. It sounds superb - nice deep foot tapping bass and excellent stereo image and soundstage.
Attachments

The sound is wonderful - typical Aksa Lender: engaging, clear, natural, with super stereo separation and imaging.
The board is a pleasure to work on - JPS64 did a superb job, as usual.
Fantastic work XRK, JP and Hugh! The Yarra preamp is shaping up to be a killer piece of HiFi audio gear. And, like the AKSA Lender preamp daughter boards, the Melbourne’s can be ‘tuned’ to match whatever the downstream amplifier’s gain needs are.
The switchable output coupling is a neat idea also, 😉
Last edited by a moderator:
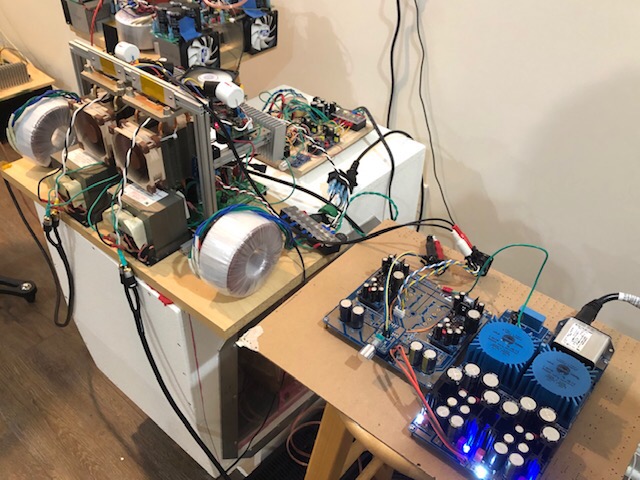
XRK, do you have any amps that are neatly housed in a nice chassis, or do they all look like the ones in test jig style as your photo shows?
At least they would be easy to work on. My wife would not let me bring any of that style into the house from my work shop.
At least they would be easy to work on. My wife would not let me bring any of that style into the house from my work shop.
Last edited by a moderator:
- Home
- Group Buys
- The YARRA Preamplifier/HPA for Melbourne DB Group Buy